


![Adobe Photoshop Elements & Premiere Elements 2026 Student & Teacher Edition | Software Download | Photo & Video Editing | 3-year term license | Activation Required [PC/Mac Online Code]](https://m.media-amazon.com/images/I/61CfO2cClnL._AC_UY218_.jpg)
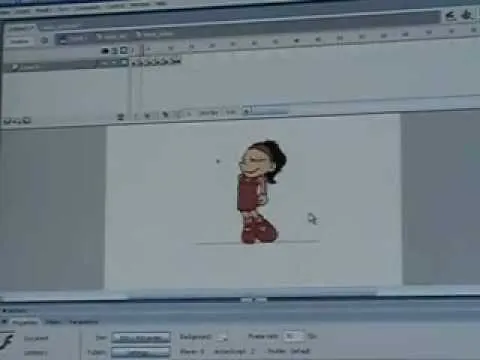
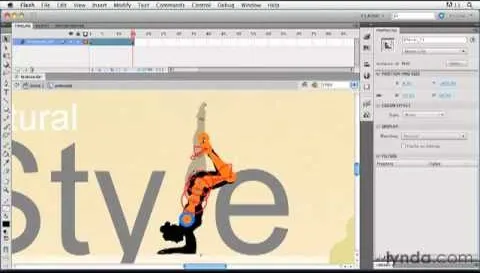
This video tutorial will help you to use the bone tool on an imported or Photoshop image while in Flash. If you want to use an image from Photoshop you must first pull the image up in the Photoshop program. Once the photo is pulled up in Photoshop you can save it by going to, file, and save us. Save your file as whatever file extension you would like to use (Photoshop, jpeg, etc). Pull up the Flash program and find file, and import. At this point you can import your Photoshop picture to your stage or library, either one is fine. Once you select how to import the picture it will pop up on the screen. In order to use the bone tool on this photo you will need to break it apart. To do this, locate modify on the top toolbar. Under modify select break apart, or hit ctrl b if you are on a pc. You will know this has worked when your image looks "dotty". Now you are ready to apply the bone tool to your photo. On the right hand tool bar select the bone. Next, drag and apply the bone to your photo. If you would like to move the bone around grab the selection tool (arrow) from the right hand tool bar and drag the bone accordingly. You have now successfully added the bone tool to your photo.
Related Products We may receive commission on purchases made using these links
![Adobe Photoshop Elements 2026 | Software Download | Photo Editing | 3-year term license | Activation Required [PC/Mac Online Code]](https://m.media-amazon.com/images/I/61rrNKDI9qL._AC_UY218_.jpg)
![Adobe Photoshop Elements & Premiere Elements 2026 | Software Download | Photo & Video Editing | 3-year term license | Activation Required [PC/Mac Online Code]](https://m.media-amazon.com/images/I/61zdlsDMedL._AC_UY218_.jpg)
Apple's iOS 26 and iPadOS 26 updates are packed with new features, and you can try them before almost everyone else. First, check Gadget Hacks' list of supported iPhone and iPad models, then follow the step-by-step guide to install the iOS/iPadOS 26 beta — no paid developer account required.


Comments
Be the first, drop a comment!